How to set up feature flags in iOS
Feb 20, 2024
Feature flags help you conditionally roll out and release features safely. This tutorial shows you how integrate them in iOS using PostHog.
We'll create a basic iOS app, add PostHog, create a feature flag, and then implement the flag to control content in our app.
1. Create a new iOS app
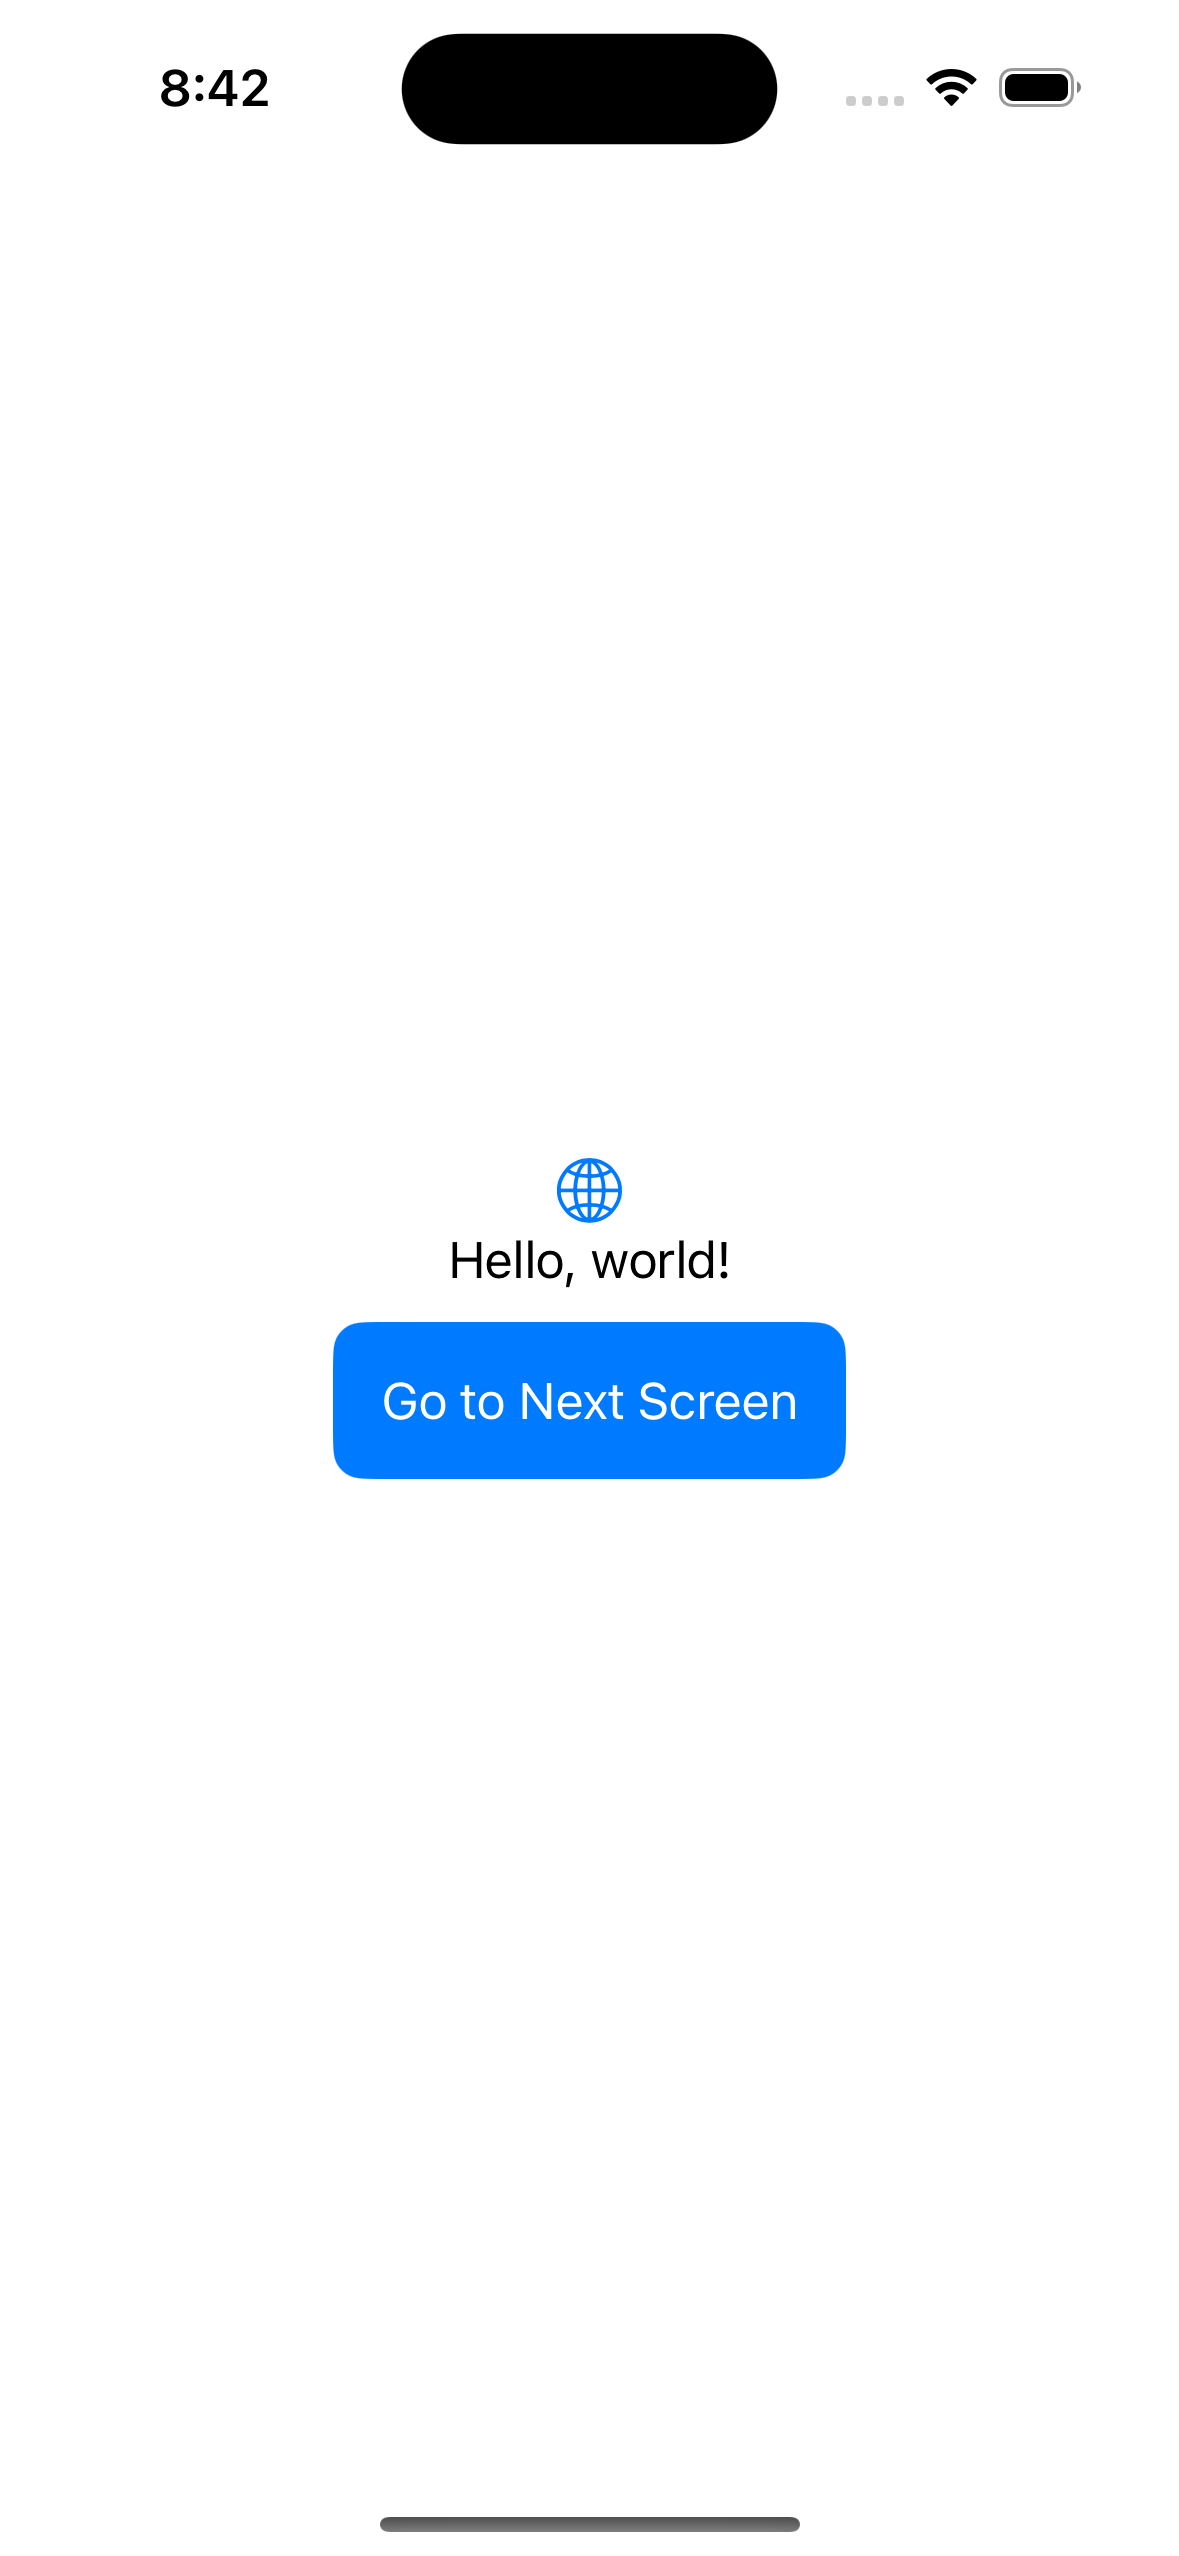
Our app will have two screens. The first screen will have a button which takes you to a second screen. The second screen will either have a red or green background color depending on whether our feature flag is enabled or not.
The first step is to create a new app. Open XCode and click "Create new project". Select iOS as your platform, then "App" and press next. Give your app a name, select SwiftUI as the interface, and the defaults for everything else. Click next and then "Create".
Then, replace your code in ContentView.swift with the following:
Then, create a new SwiftUI View called FeatureScreenView. Replace the default code in the new file with the following:
Our basic set up is now complete. Build and run your app to see it in action.
2. Add PostHog to your app
With our app set up, it’s time to install and set up PostHog. If you don't have a PostHog instance, you can sign up for free.
First, add posthog-ios as a dependency to your app using Swift Package Manager (or if you prefer, you can use CocoaPods.
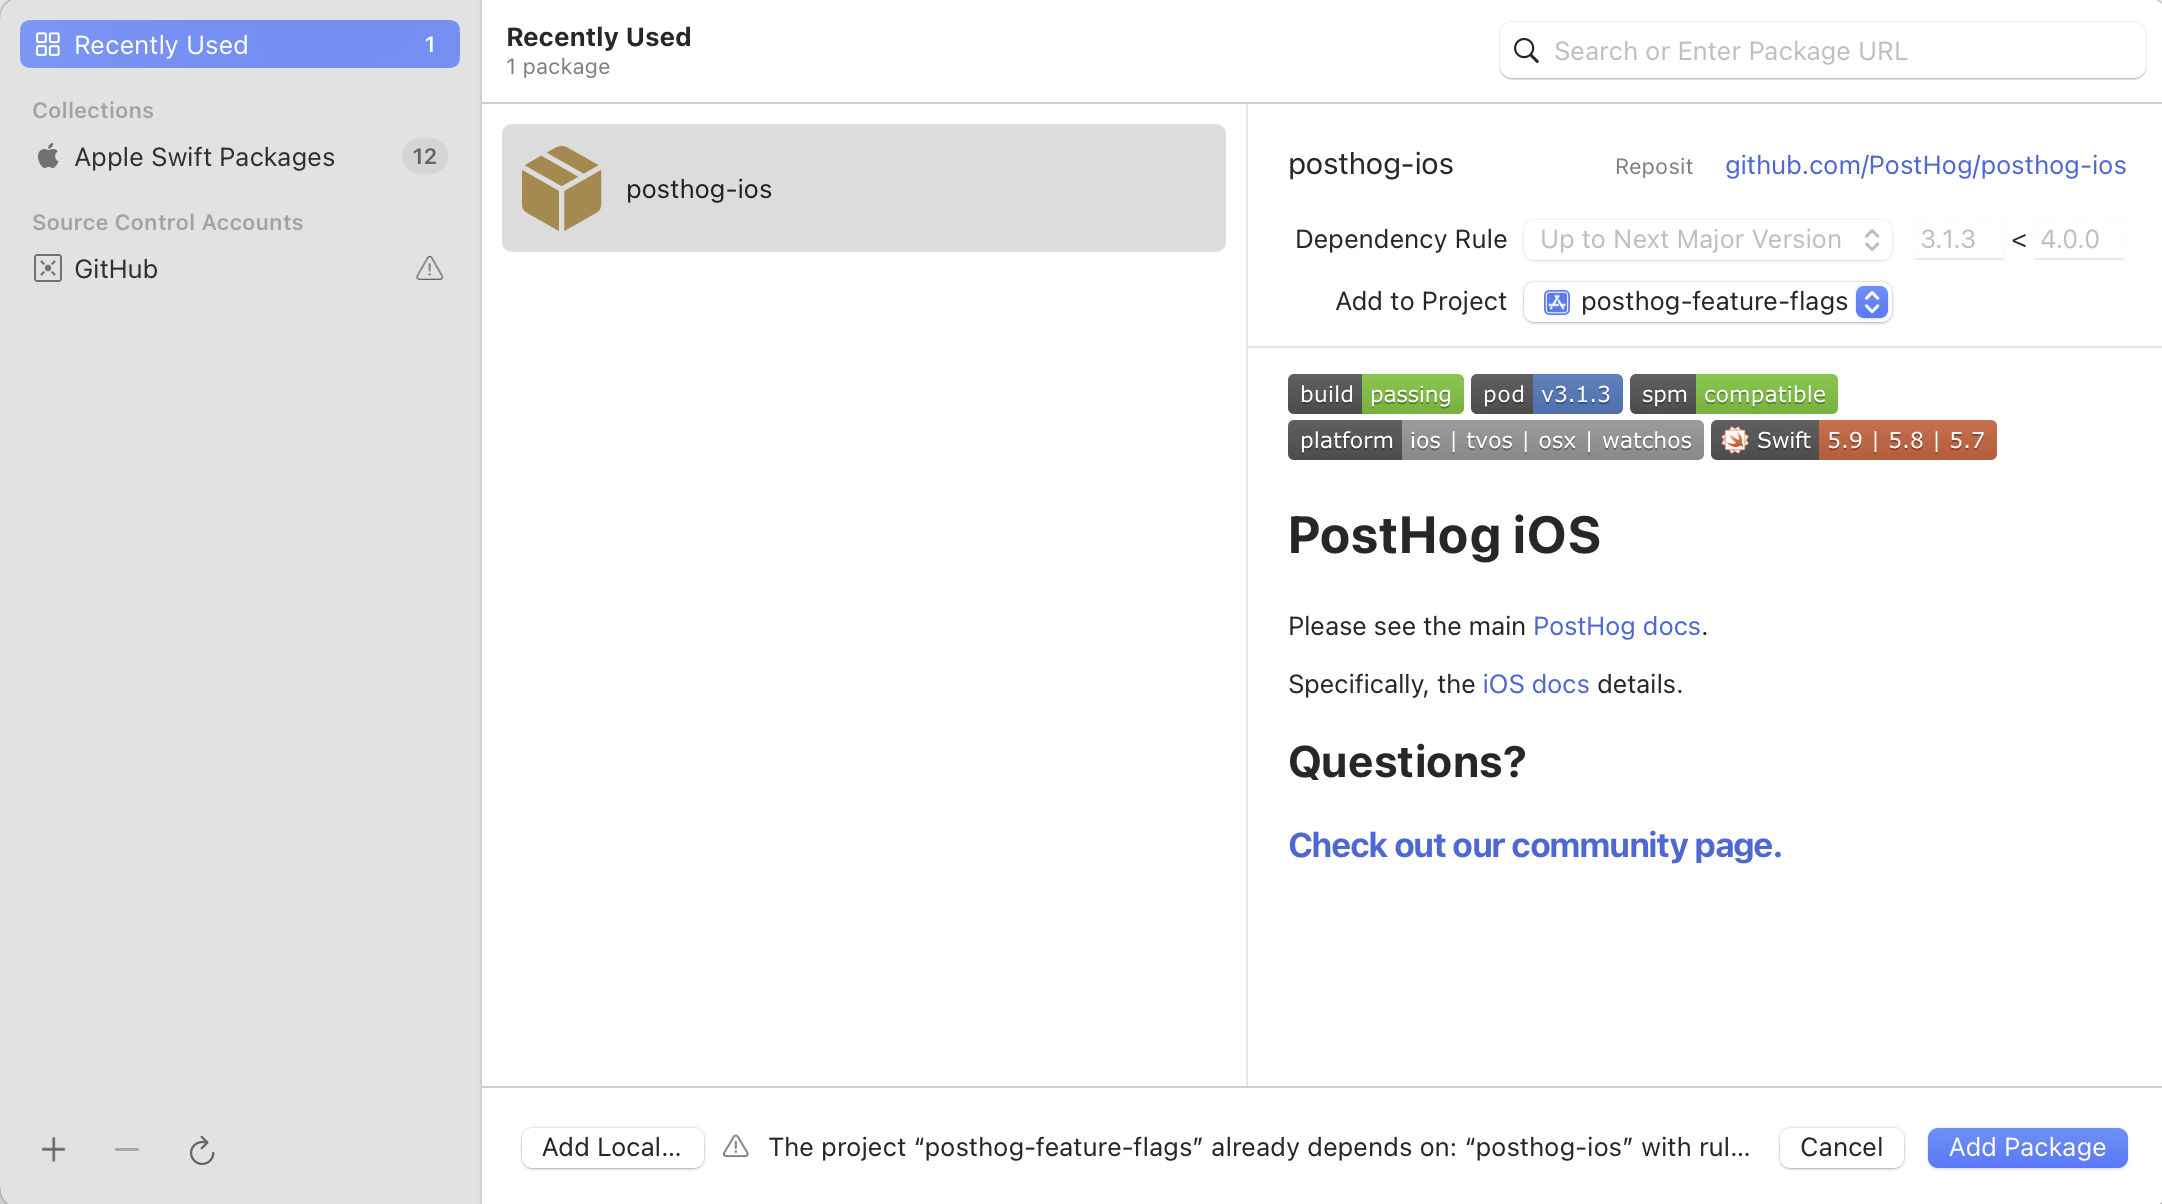
To add the package dependency to your Xcode project, select File > Add Package Dependency and enter the URL https://github.com/PostHog/posthog-ios.git. Select posthog-ios and click Add Package.
Note that for this tutorial we use version 3.1.3 of the SDK.
Next, configure your PostHog instance in App.swift using your project API key and instance address (you can find these in your project settings):
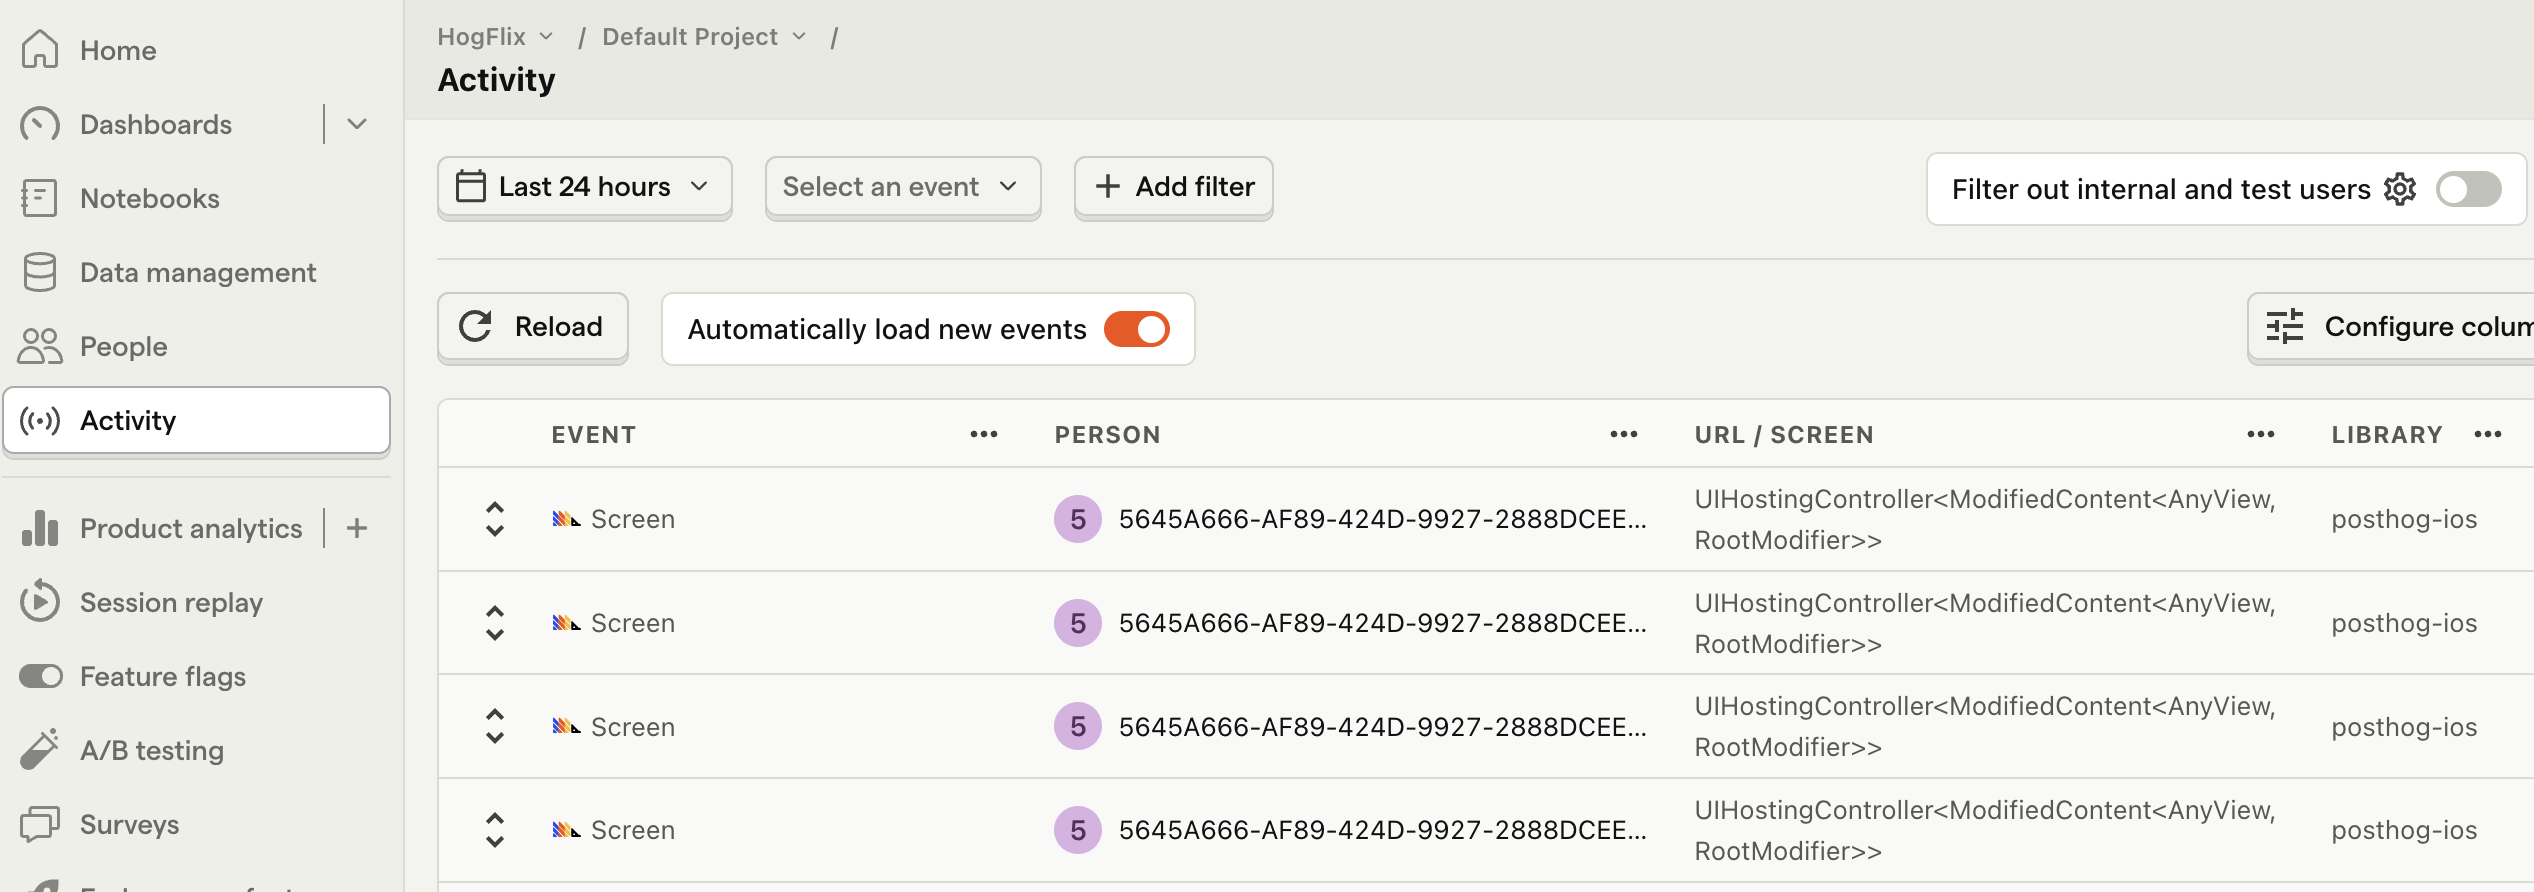
To check your setup, build and run your app. Click your button a few times. You should start seeing events in the activity tab.

3. Create a feature flag in PostHog
With PostHog set up, your app is ready for feature flags. To create one, go to the feature flags tab in PostHog and click New feature flag. Enter a flag key (like my-cool-flag), set the release condition to roll out to 100% of users, and press "Save."
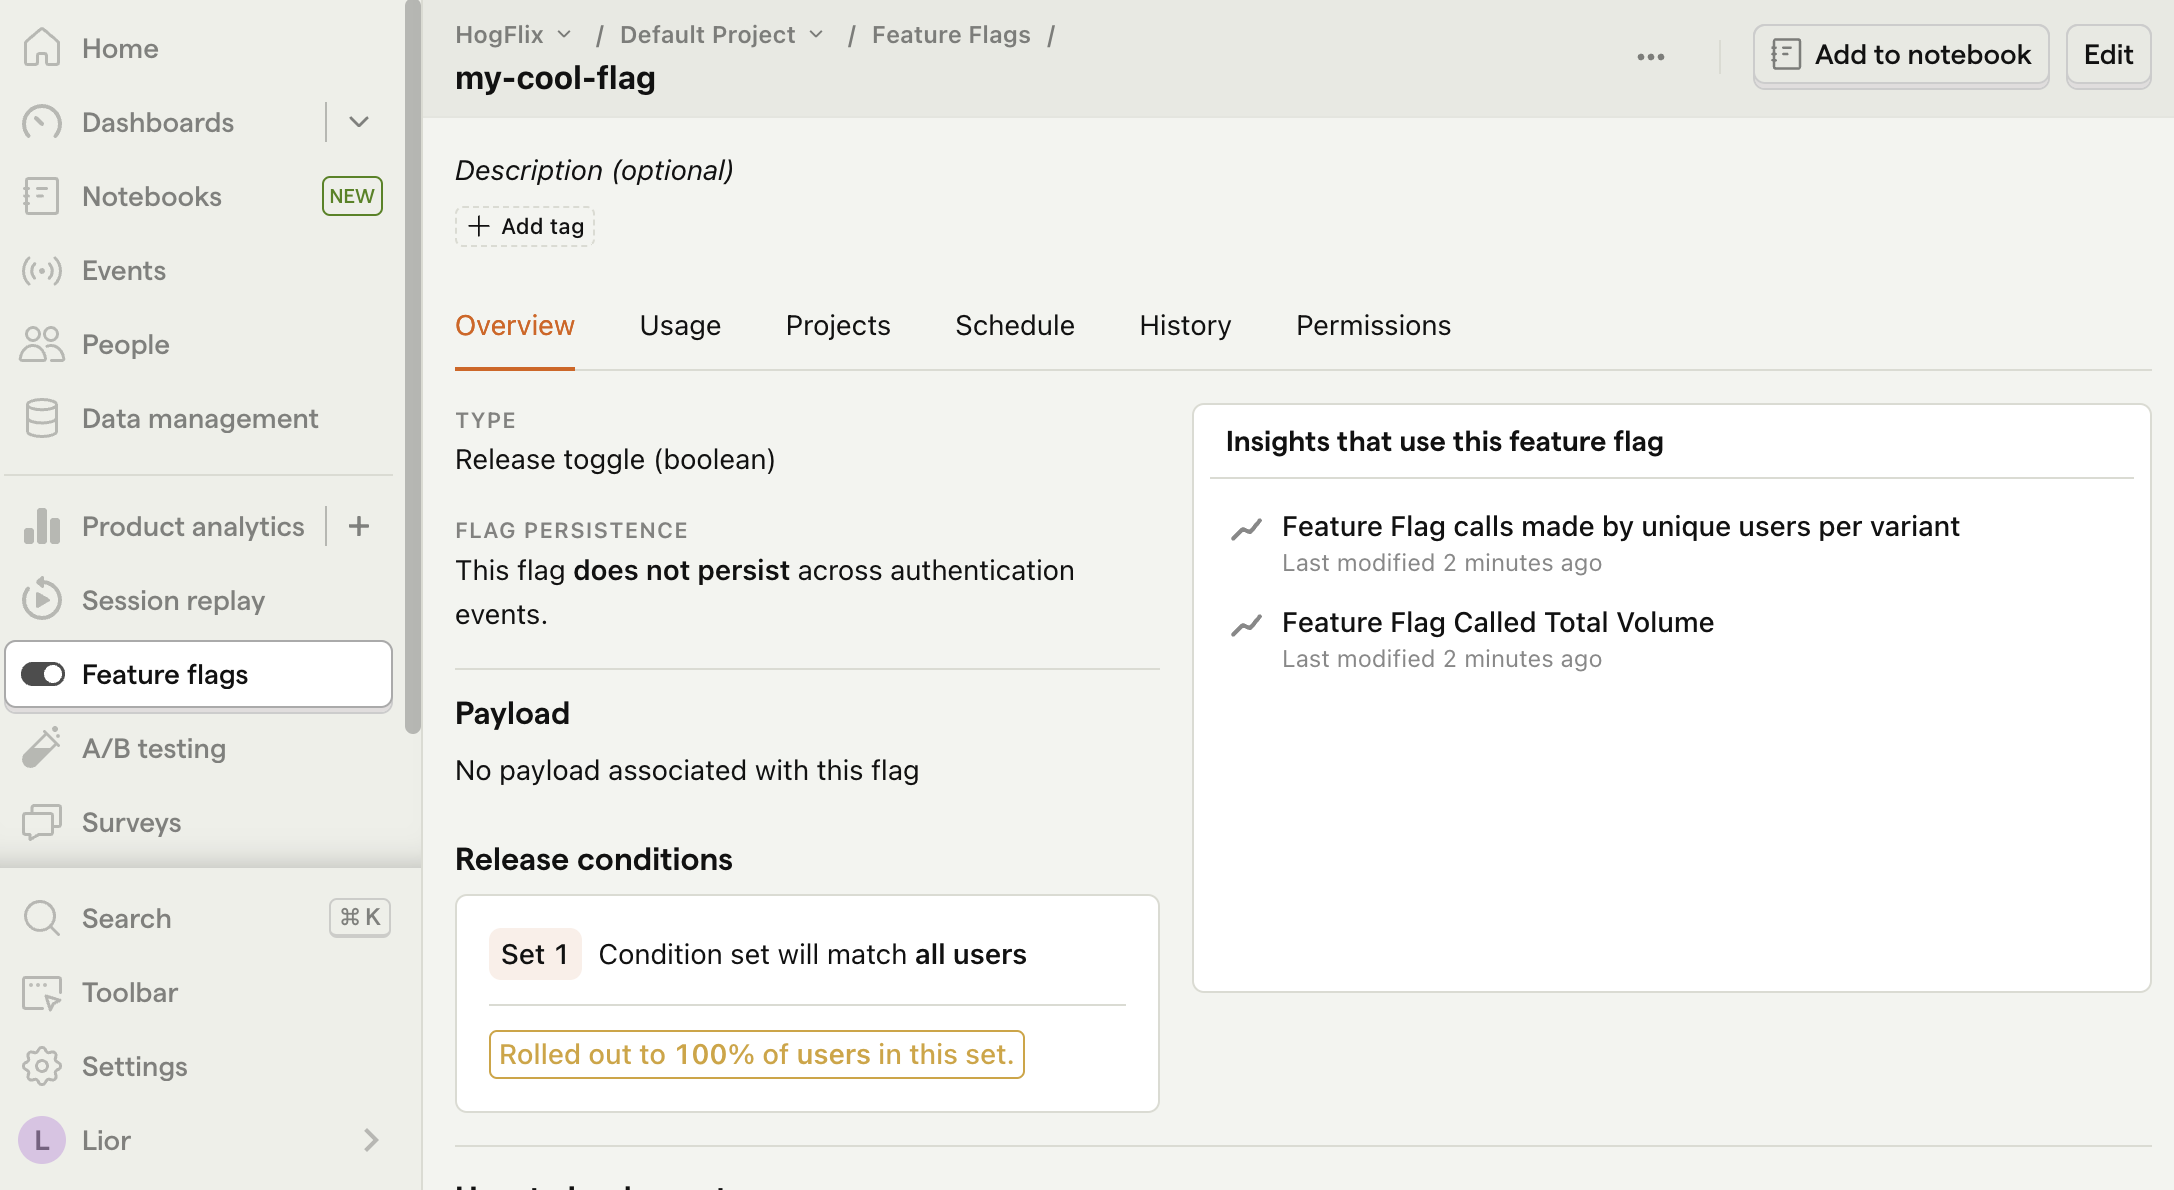
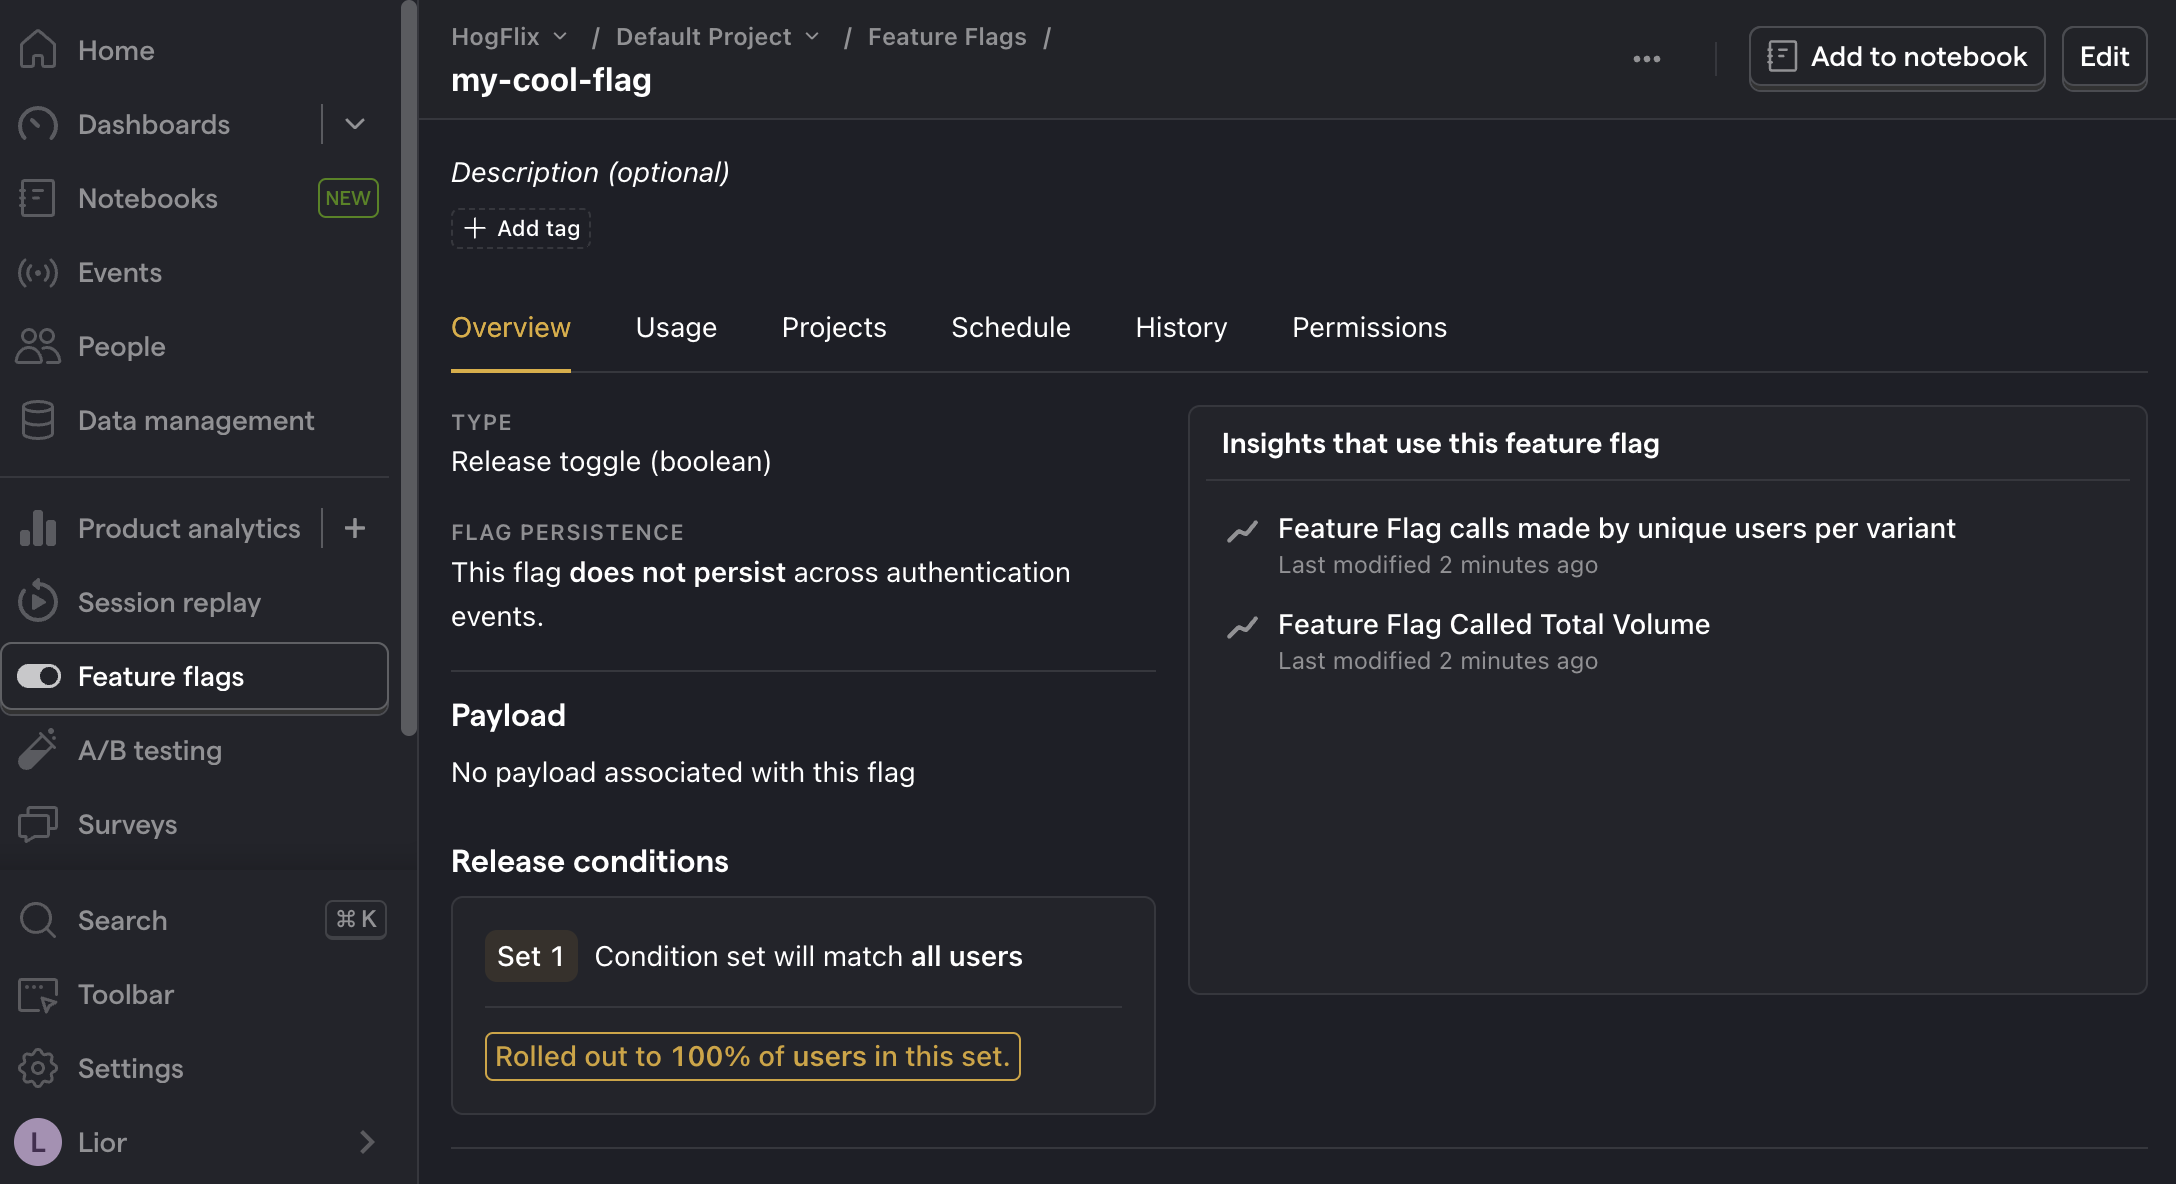
You can customize your release conditions with rollout percentages, and user or group properties to fit your needs.
4. Implement the flag code
To implement the feature flag, we:
- Fetch the
my-cool-flagflag usingPostHogSDK.shared.isFeatureEnabled(). - Change the background color of
FeatureScreenViewbased on the value of the flag.
To do this, update the code in ContentView.swift with the following:
That's it! When you restart your app and click the button, you should see the green background color on the second screen.
Further reading

Subscribe to our newsletter
Product for Engineers
Sharing what we learn about building successful products. Read by 25,000+ founders and developers.
We'll share your email with Substack
